You can temporarily fix a sinking office chair with a simple PVC pipe or a hose clamp. The only permanent solution, however, is to replace the gas lift cylinder entirely. That slow, frustrating descent during the workday breaks your concentration and harms your posture. A reliable fix is essential for maintaining both focus and proper ergonomic support. This guide walks you through the repair, helping you restore your chair without needing to browse our online office chair shop for a complete replacement.
The Cause of a Sinking Office Chair
You recognise the feeling instantly. You adjust your chair to the perfect height, get focused on a task, and then, almost imperceptibly at first, you start to sink. An hour later, you find yourself peering up at your monitor, your ergonomic setup completely compromised.
This gradual loss of height is the classic sign of a failing gas lift cylinder. It is the single most common point of failure on an office chair, but it is also one of the most straightforward and affordable repairs involving readily available office chair spare parts.
Gas Lift Cylinder Function and Failure
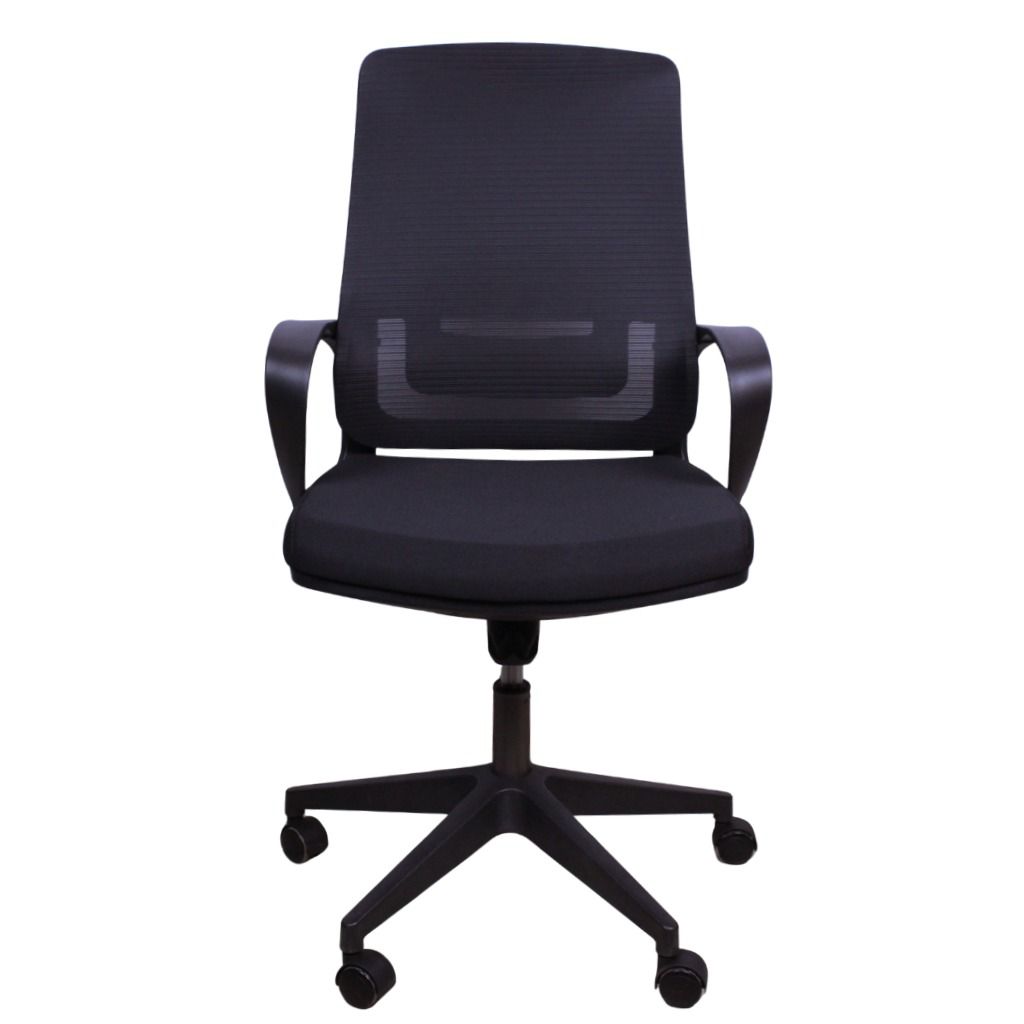
The tall, central column connecting your seat to the wheeled base is the gas lift cylinder. It contains two chambers of pressurised nitrogen gas. When you pull the height adjustment lever, a valve opens, which allows gas to move between the chambers to raise or lower the seat.
Seal Wear and Internal Pressure Loss
The primary reason for failure is wear and tear on the internal seals. After thousands of adjustments and years of supporting your body weight, the main valve seal degrades. This degradation allows the pressurised nitrogen gas to leak out slowly, reducing the internal pressure.
Once the pressure drops below the level needed to support your weight, the cylinder can no longer hold its position. The chair sinks because the gas pressure is simply too weak to hold you up.
Temporary DIY Fixes for a Sinking Chair
If you need a quick, no-cost solution to keep you working while you order a replacement part, these DIY methods can lock your chair at a fixed height. They sacrifice adjustability for stability. For those who prefer professional assistance, chair repair services are also available.
The PVC Pipe Method for a Fixed Height
This method provides a solid, fixed-height support by physically blocking the cylinder from compressing. First, raise your chair to your ideal working height. Next, carefully measure the diameter of the shiny, exposed metal piston of the gas cylinder.
You can then purchase a small piece of PVC pipe with a matching internal diameter from a local hardware shop. Cut the pipe to the length of the exposed piston. Make a single cut down its length so you can pry it open, and snap it around the piston. The chair's outer column will now rest on this solid PVC collar, which prevents it from sinking.
The Hose Clamp Method for a Quick Stop
You can use a jubilee clip, also known as a hose clamp, for an even faster fix. Raise the chair to the desired height to expose the metal piston. Wrap the hose clamp around the very top of the piston, right up against the chair's seat mechanism, and tighten it securely with a screwdriver.
This small metal ring acts as a hard stop, preventing the cylinder from sinking. You may need to add duct tape to help it grip and prevent slipping over time.
The Permanent Solution: Gas Cylinder Replacement
DIY fixes are useful in an emergency, but the only way to restore your chair's full, smooth adjustability is to replace the failing component. This standard maintenance task breathes new life into an otherwise functional chair, saving you the significant expense of a complete replacement.
The process is far simpler than most people imagine and requires only a few common tools. It is an investment of about 30 minutes that restores your chair to its original, fully ergonomic state.
How to Select the Correct Replacement Gas Cylinder
Before ordering a new part, a couple of quick measurements will ensure you get a perfect fit. Most modern office chairs use a universal standard, but it is always wise to confirm.
Cylinder Diameter and Length Measurements
You need two primary measurements to guarantee compatibility. Use a tape measure or callipers for accuracy.
- Outer Cylinder Diameter: Measure the main, wider black or chrome column that inserts into the chair's base. The universal standard is 50mm (2 inches).
- Piston Shaft Diameter: Measure the thinner, inner piston that inserts into the seat mechanism. The universal standard is 28mm (1.1 inches).
If your measurements match these standards, any universal replacement cylinder will fit your chair perfectly. You can also measure the "stroke" or travel length to get a similar height adjustment range.
Gas Lift Cylinder Classes and BIFMA Standards
Gas lifts are rated by Class, which indicates their durability and weight capacity. Class 3 is a common standard, but for superior longevity and support, always opt for a Class 4 cylinder. Class 4 cylinders are built with thicker steel and are tested to higher BIFMA (Business and Institutional Furniture Manufacturer's Association) standards for safety and performance, making them suitable for demanding environments and often found in heavy duty chairs.
Step-by-Step Cylinder Replacement Guide
With your new cylinder ready, you can perform the replacement. You will likely need a rubber mallet and a large pipe wrench, sometimes called a monkey wrench.
Preparation for Cylinder Removal
Start by laying your office chair on its side on the floor. Place it on a piece of cardboard or an old blanket to avoid scratching your floor or the chair's armrests.
How to Remove the Old Gas Cylinder
This is a two-part process that relies on breaking a tight friction fit, which can require some firm persuasion.
- Remove the Wheeled Base: With the chair on its side, tap the 5-star base firmly with your rubber mallet, close to where it meets the cylinder. Work your way around, tapping each leg connector until the base loosens and slides off. Avoid hitting the wheels themselves.
- Remove the Cylinder from the Seat: This is often the most challenging step. Grip the old cylinder tightly with your pipe wrench and twist firmly to break the friction seal. Alternatively, firm, sharp taps with the mallet on the underside of the seat mechanism where the cylinder is inserted can also dislodge it.
How to Install the New Gas Cylinder
Installing the new part is much simpler. Drop the new cylinder into the hole in the centre of the wheeled base. Then, lift the chair seat and align the hole in the mechanism over the top of the new cylinder's piston.
Lower the seat onto the cylinder and sit down in the chair. Your body weight will create the secure pressure fit that locks everything firmly in place. Test the height adjustment lever to feel the smooth, reliable action of your newly repaired chair.
Local Availability of Gas Cylinders in Kenya
In Kenya, you do not need to wait for international shipping. Universal Class 4 gas lift cylinders are readily available from major office furniture suppliers and specialised hardware stores in Nairobi, Mombasa, and other urban centres. Sourcing locally means you can have your chair repaired and back in comfortable service within a day or two.
Cost Comparison: Repair vs. Replacement in Kenya
Repairing your chair is not just an effective solution; it is also extremely cost-efficient. The financial benefit of replacing the cylinder is significant when compared to buying a brand-new, quality ergonomic chair.
| Item | Typical Cost in KSh | Pros | Cons |
|---|---|---|---|
| New Gas Lift Cylinder (Class 4) | KSh 2,500 - KSh 4,000 | Extremely cost-effective, reduces waste, restores full chair function. | Requires about 30 minutes of DIY effort. |
| New Mid-Range Ergonomic Chair | KSh 12,000 - KSh 20,000+ | Brand new item, no work required. | Significantly more expensive, discards a mostly functional chair. |
Final Ergonomic Adjustments for All-Day Comfort
With your chair's height adjustment restored, take a moment to perfect your ergonomic setup. The goal is to create a posture that reduces strain on your back, neck, and wrists throughout the day, a key feature of quality orthopedic chairs.
Adjust your newly fixed chair so your feet are flat on the floor and your knees are at a 90-degree angle. Your armrests should be at a height where your elbows can rest gently, also at a 90-degree angle, to keep your shoulders relaxed. This small extra step ensures you get the maximum health and productivity benefits from your repaired chair, extending its life and saving you a trip to our Office Chairs Market Kenya showroom.