Easy Office Chair Assembly Guide for an Unstable Office Chair
Correct office chair assembly prevents wobbly frames and stripped screws by starting all bolts by hand, aligning components without force, and avoiding excessive tightening. This alignment-focused approach protects the structural integrity of ergonomic chairs for Kenyan offices and home workers. Proper assembly is a matter of technique, not force, and ensures the chair's longevity and correct function from its first day of use.

Tools Required for Office Chair Assembly
Gathering the correct tools before starting is a foundational step for a successful office chair installation. Most office chair kits sold in Kenya include basic hardware, but having quality equipment prevents damage from improvised tools.
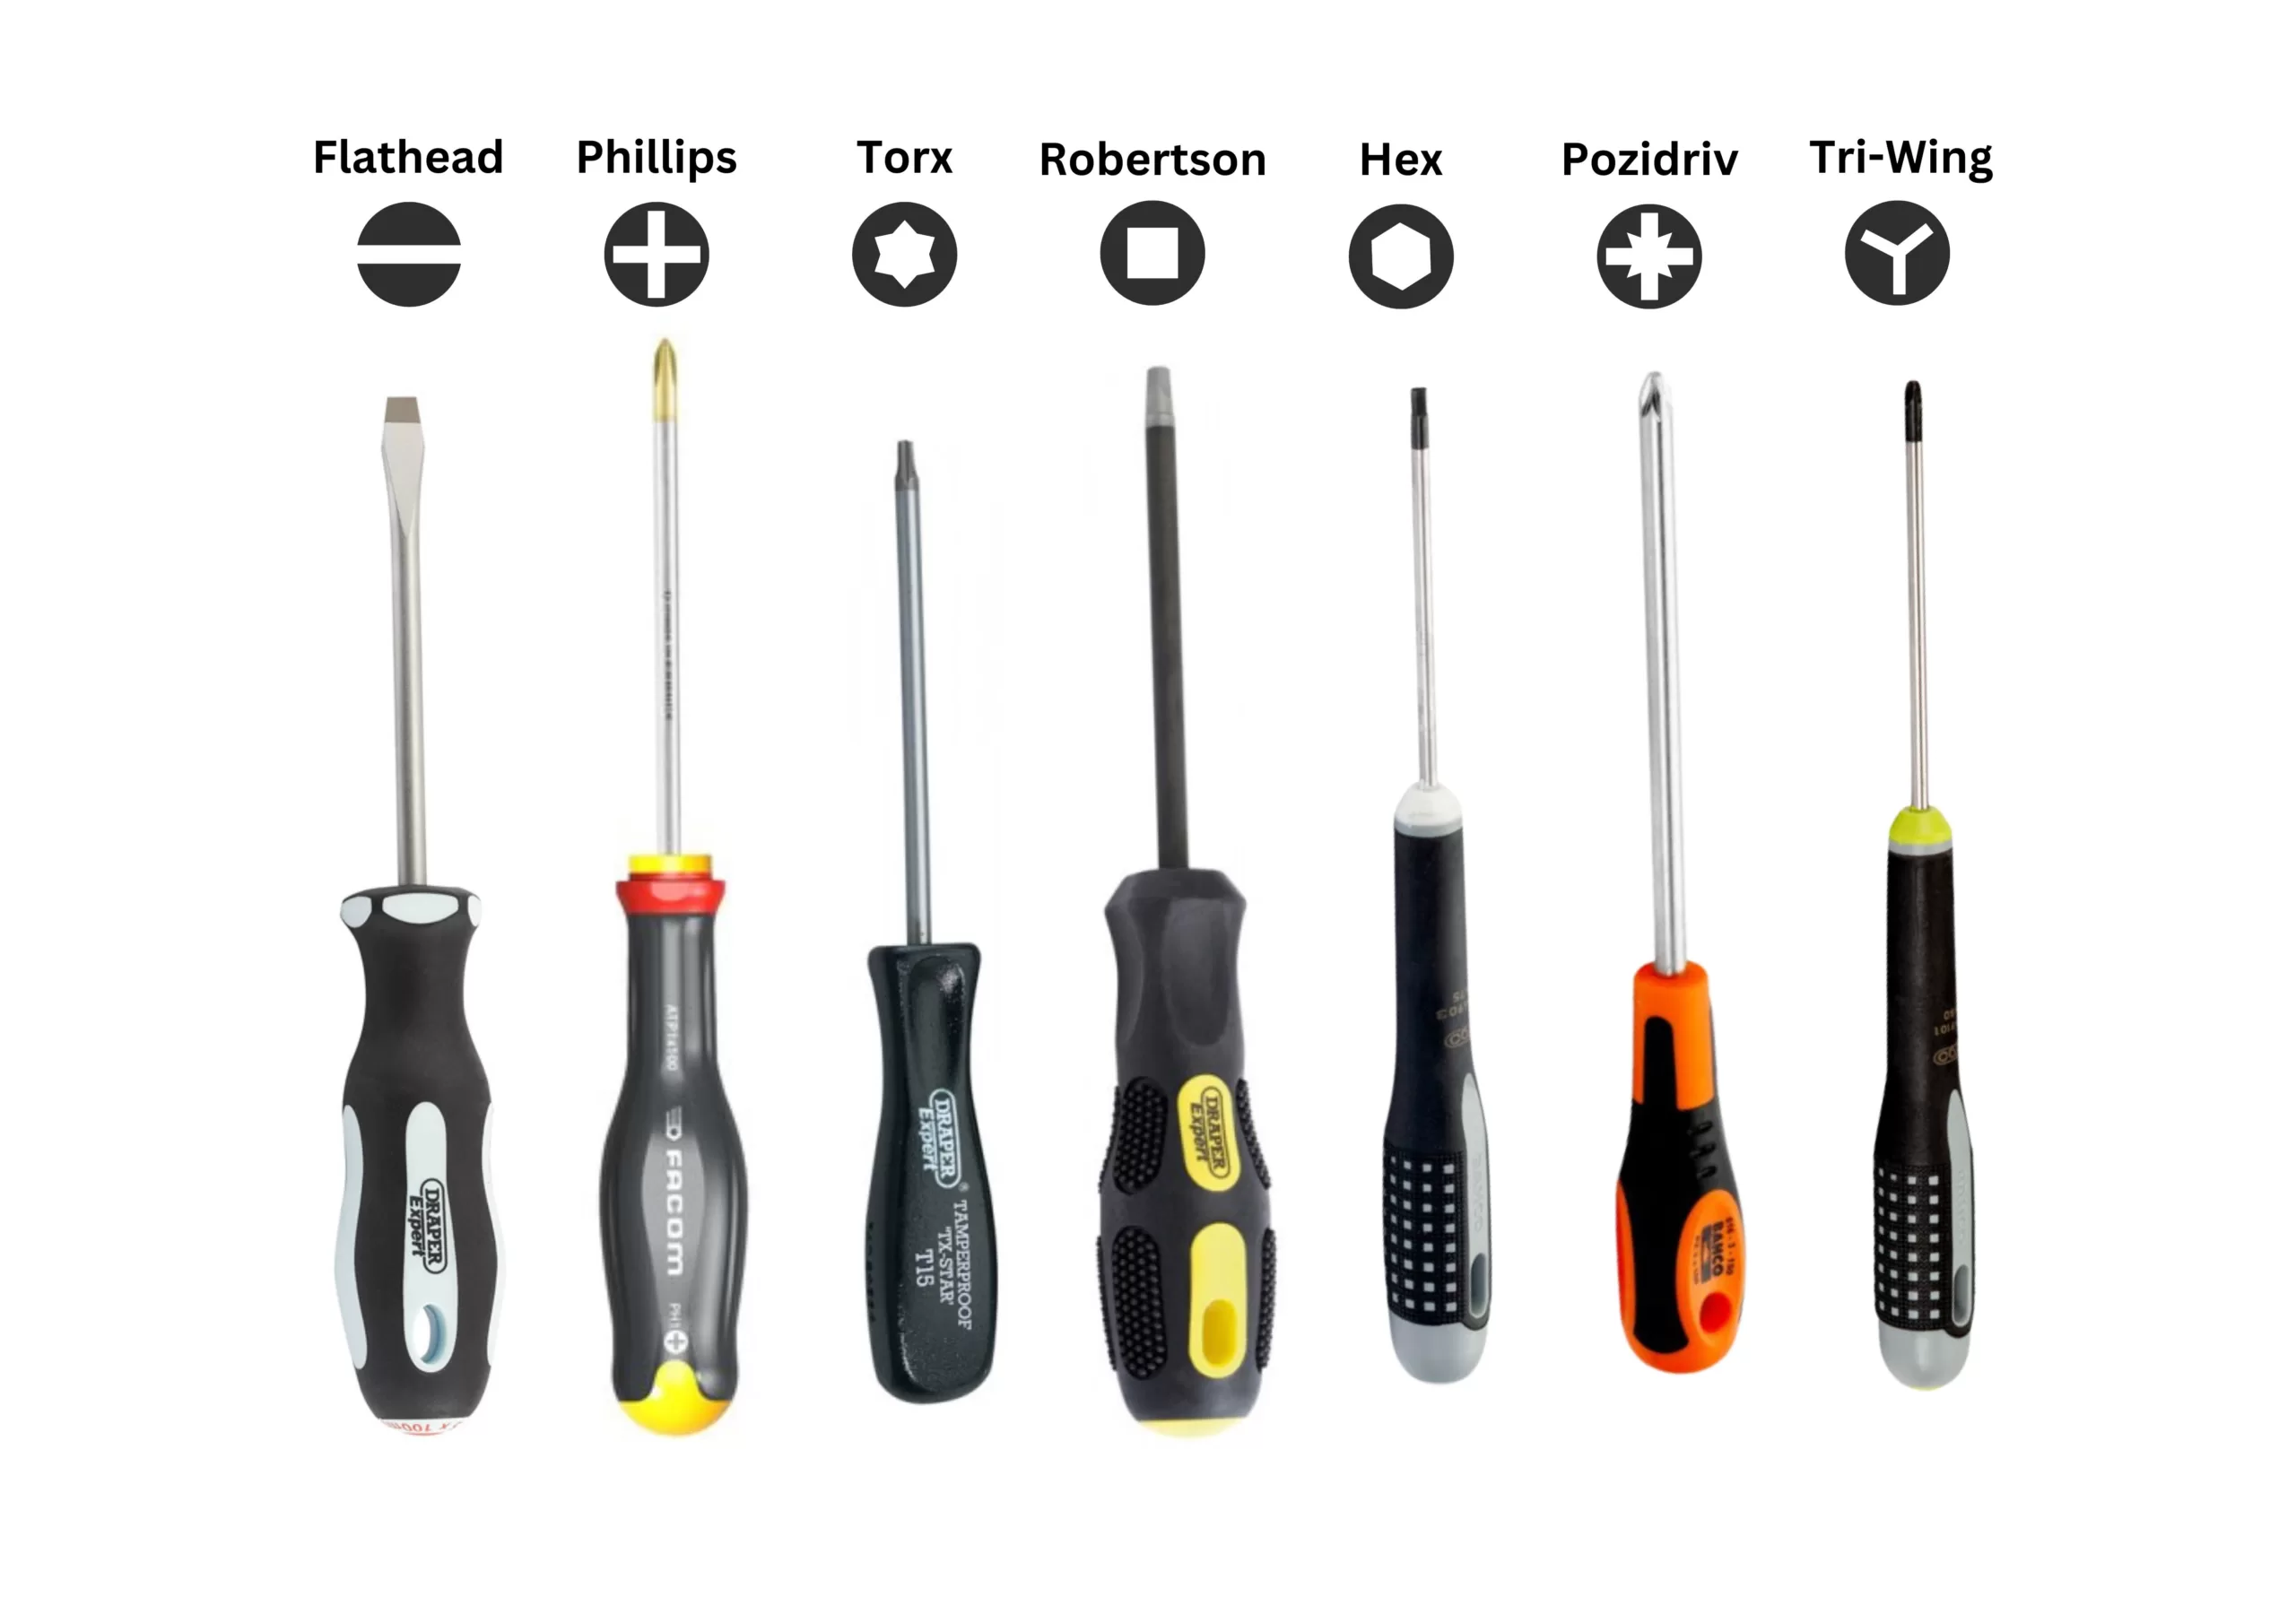
- Allen Key (Hex Key): This is the primary tool for office chair assembly and is nearly always included in the hardware pack. The kit may supply two different sizes, which should be kept separate.
- Phillips Head Screwdriver: A screwdriver is sometimes needed for attaching plastic covers or specific armrest models. A personal, good-quality screwdriver is superior to a low-grade one that might be included.
- Utility Knife or Scissors: A sharp blade is needed for safely opening the packaging without scratching the chair components.
- Clean, Soft Surface: The chair should be assembled on a rug, carpet, or the flattened cardboard box to prevent scratching the floor or the chair parts themselves.
Power tools should not be used for office chair assembly. The high torque from a power drill can easily strip the soft metal of the threaded inserts in the seat and backrest. This action causes permanent damage that leads to wobbly and insecure parts.
How Do You Assemble the Chair Base and Gas Lift?
The chair's foundation determines its overall stability, making correct base assembly a simple but important process. Start by placing the five-star base upside down on a protected work surface.
Take the caster wheels and push the stem of each one firmly into its corresponding hole at the end of each leg. A distinct click confirms the wheels are locked into place. This step requires firm pressure but no tools.
Once all five wheels are secure, turn the base upright. Insert the gas lift cylinder, narrow end up, into the central hole of the base. The gas lift should slide in easily and seat itself with gravity. No force is needed, as the user's weight will secure the cylinder permanently during first use.

How to Mount the Seat and Backrest to Avoid Cross-Threading
The attachment of the seat and backrest is the stage where most assembly errors happen, primarily from misalignment.
1. Position and Hand-Start Bolts
First, place the seat cushion upside down. Position the control mechanism over the pre-drilled holes, confirming it faces the correct direction; the height adjustment lever typically points to the right-hand side. Insert each bolt by hand and turn it gently for two or three rotations until the threads catch smoothly. Starting bolts by hand is a mandatory step to prevent cross-threading the mounting inserts.
2. Tighten in a Crisscross Pattern
After all bolts for the mechanism are hand-started, use the Allen key to tighten them. The bolts should be tightened in a crisscross pattern, similar to changing a car tyre, to ensure even pressure distribution. Do not apply excessive force; tighten them only until they are snug and firm.
3. Attach the Backrest
Repeat this exact process for attaching the backrest to the seat or mechanism. Always prioritise hand-tightening first to guarantee correct component alignment and protect the threads from damage.
What Is the Correct Way to Secure Armrests?
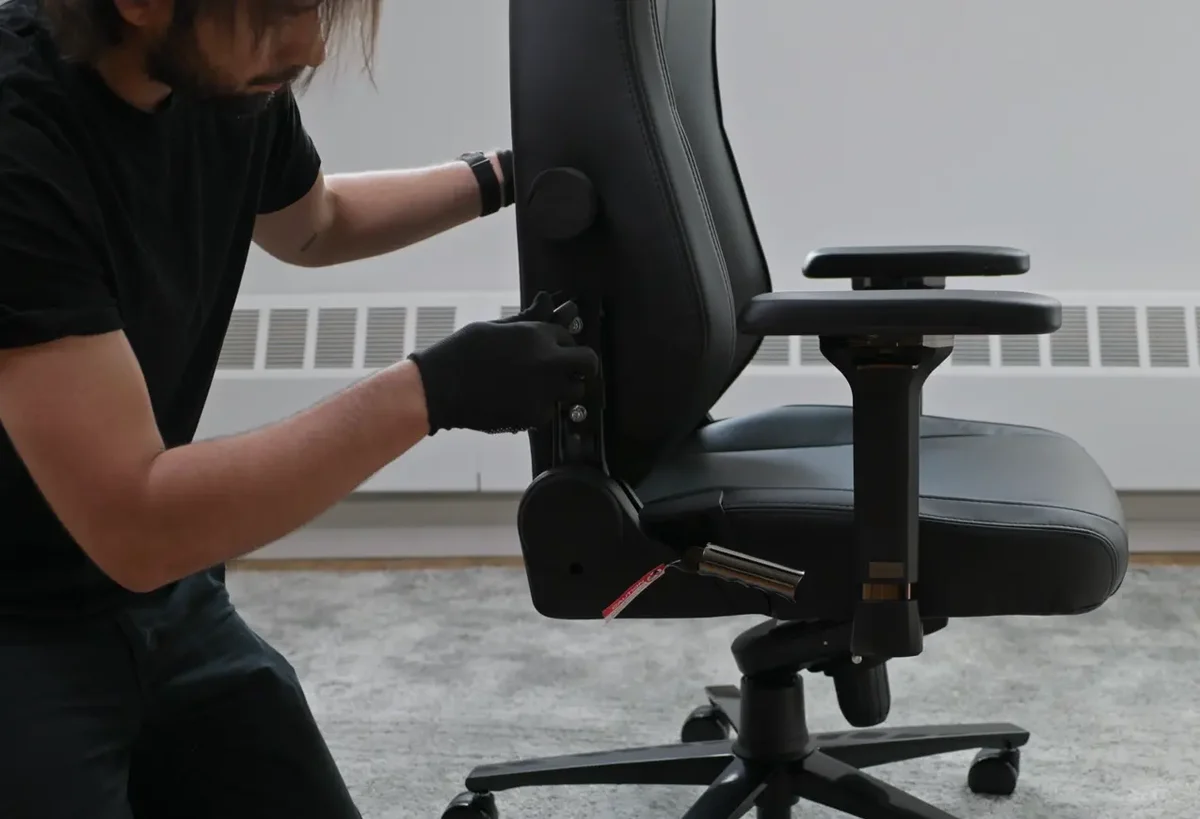
A gradual tightening technique prevents wobbly armrests and other loose components. Position an armrest over its mounting holes and insert all its bolts by hand, turning them just enough to catch the threads.
With the bolts still loose, you can make minor adjustments to ensure the armrest is perfectly aligned. Once aligned, tighten the bolts sequentially. Give each bolt a few turns at a time in an alternating pattern until all are snug. This graduated process pulls the armrest flush against the frame without stressing any single point, which creates a solid, wobble-free connection.
This same principle applies to any other final components, such as a headrest or an attachable lumbar support. Always hand-start all bolts for a single component before fully tightening any of them to ensure a stable final structure.
What Final Checks Ensure a Safe Office Chair Assembly?
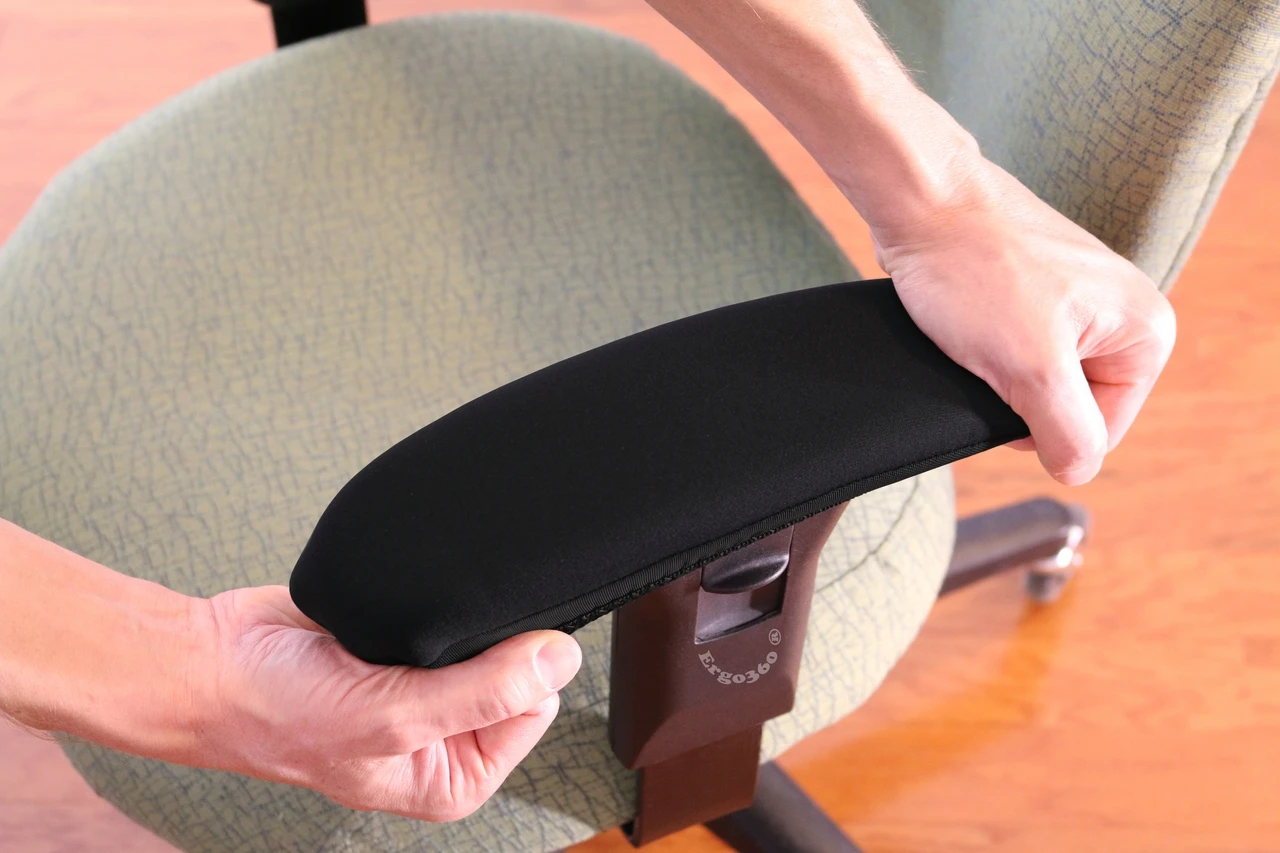
A final inspection after assembly is necessary to confirm the chair's safety and function. This movement check validates the quality of the assembly work and ensures the chair is ready for use in a Kenyan office or home setup.
- Stability Test: With the chair upright, firmly grip the armrests and try to rock them side-to-side. Repeat this test with the backrest. No significant play or movement should exist at the mounting joints.
- Fastener Check: Review every bolt one last time. All bolts should be snug but not excessively tight. The goal is firm resistance, not straining with the tool.
- Function Test: Sit in the chair and test all its ergonomic functions. Check the gas lift for smooth height adjustment and test the backrest tilt and lock mechanism. If the chair has adjustable features, ensure they move and lock as intended.
- Caster Roll: Roll the chair a short distance to confirm all five casters are seated properly and rotate freely. This final verification guarantees the full ergonomic benefit from the new office furniture.
How to Fix a Wobbly Chair or Damaged Screws
A wobbly chair after assembly is usually caused by uneven pressure, not loose bolts. To fix this, systematically loosen all the bolts on the wobbly component, such as the armrest. Ensure the part sits perfectly flush with its mounting point, check for missing washers, and then re-tighten the bolts gradually in a crisscross pattern. This method equalises the pressure and stops the wobble.
If you have stripped a screw or an internal thread, stop all work immediately. Your best option is to contact your Kenyan supplier for replacement parts, which is often covered under the product warranty. A last-resort fix for a stripped thread may be a slightly larger diameter screw, but this action may void your warranty. Always seek professional support from the supplier before forcing a damaged fastener.
How to Maintain Long-Term Office Chair Stability
To extend the life of an office chair and maintain its stability, a few simple preventative practices are needed. These habits are important for ensuring a good return on investment for high-use chairs in Kenyan business environments.
Perform Periodic Re-tightening
Every three to six months, check all fasteners on the chair. If any bolts have loosened with daily use, gently snug them up with an Allen key. Do not over-tighten, as this can cause more damage than slight looseness.
Promote Proper User Habits
Educate users to avoid putting excessive stress on the chair's joints. Proper use includes not using the armrests to push out of the chair, not standing on the seat, and using adjustment levers smoothly rather than with force.
Disassemble Chairs Carefully for Storage
If you need to move or store the chair, disassemble it with care. Keep all bolts, washers, and the Allen key together in a clearly labelled bag. Tape the bag to a large component like the seat base to prevent lost hardware and ensure a successful reassembly later.
Key Office Chair Assembly and Maintenance Summary
| Action | Best Practice | Reason |
|---|---|---|
| Starting Bolts | Always start every bolt by hand for 2-3 rotations. | Prevents cross-threading and permanent damage to mounting points. |
| Tightening | Tighten in a crisscross or alternating pattern until snug. | Distributes pressure evenly and eliminates wobbly components. |
| Tool Usage | Never use power tools for assembly. | Excessive torque strips threads and voids the warranty. |
| Maintenance | Check and snug all fasteners every 3-6 months. | Counteracts natural loosening from daily use and maintains stability. |
Should Procurement Teams Use Professional Assembly Services in Kenya?
Self-assembly is often impractical for procurement teams managing a large office fit-out in Nairobi or other parts of Kenya. Many office furniture suppliers in Kenya offer professional assembly services. This service is a strategic option for bulk orders of 10 or more chairs.
Technicians assemble the chairs to manufacturer specifications, which ensures consistent quality and structural integrity across all units. Professional assembly saves valuable staff time and also protects the product warranty, as any assembly-related faults become the supplier's responsibility. Procurement teams sourcing ergonomic chairs should always ask if assembly services are available to guarantee the investment's longevity.
[Contact us for professional assembly services]How Does Assembly Affect Your Office Chair Warranty in Kenya?
An office chair's warranty is a safeguard for your investment, but its validity in Kenya depends on correct assembly and maintenance. Most warranties exclude damage from assembly errors, such as a stripped screw from over-tightening.
To protect the warranty, always keep the proof of purchase and the assembly manual. Perform basic maintenance, such as wiping caster wheels free of debris and lubricating squeaky pivot points with a silicone-based spray. These actions extend the chair's functional life and demonstrate due care, which is helpful for a warranty claim. To initiate a claim, contact the Kenyan supplier directly with your documentation and a clear description of the fault.
Need Office Chairs?
Browse our collection of office chairs at competitive prices. Fast delivery anywhere in Kenya.